.png)
HDL Overview
The Nureva HDL series is the ideal solution for most medium
and large meeting rooms. Installation is
quick and easy, and the built-in software automatically calibrates to the room
and continuously adjusts to ensure great audio quality.
To get the best out of your HDL solution, check these simple
steps to ensure the room is ready.
The HDL consists of 2 elements.
- The Connect Module 2 which can be positioned
anywhere, but typically will be close to the PC in the room
- The sound bar(s) which need to be carefully
positioned to provide optimal performance.

The sound bar is 5' (1524mm) long with 16 downward facing microphones and dual speakers.
Room Size
It is not recommended to use HDL systems in spaces larger
than the maximum size. Doing so will
reduce microphone performance and audio output levels will be reduced at the
extremes of the space and people may struggle to hear.
- HDL310 – Maximum recommended room size 9.1m x 9.1m
- HDL410 – Maximum recommended room size 10.7m x 16.8m
Sound Bar Positioning
Incorrect positioning of the sound bar will cause poor
performance. We recommend reading the
Nureva guide before purchasing the system.
Here are the key points to check
- Height.
The bar should be positioned between 2.16 and 3.05m from floor level to ensure the microphones are focussed at sitting and standing height. Too low reduces audio clarity when people are standing. Too high reduces audio clarity when people are seated. - Wall position.
The bar should be at least 1m from a corner to prevent echo.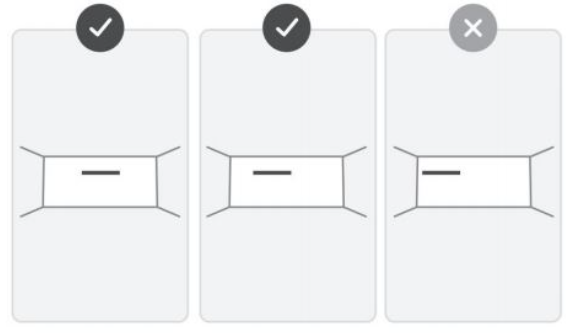
- Sources of noise
The sound bar should not be installed within 1m of a noise source (e.g. HVAC unit). If the HVAC is blowing directly onto the sound bar, allow at least 1.5m clearance. - Sound bar clearance.
The HDL sound bar has downward facing microphones to detect both direct audio pickup AND audio reflected from the wall behind. It therefore imperative that the bar is positioned flush on the wall with no obstructions immediately underneath.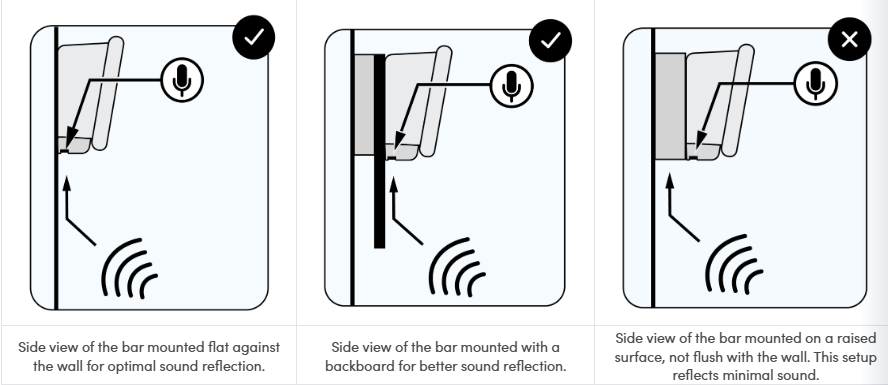
If the sound bar is to be mounted above a screen (or other obstruction), measure the depth of the screen from the wall (Y). To calculate the height of the bottom of the sound bar (X), multiply this by 1.5.X = Y x 1.5So if a screens sits 10cm from the wall, the bottom of the HDL sound bar should be 15cm from the top of the screen.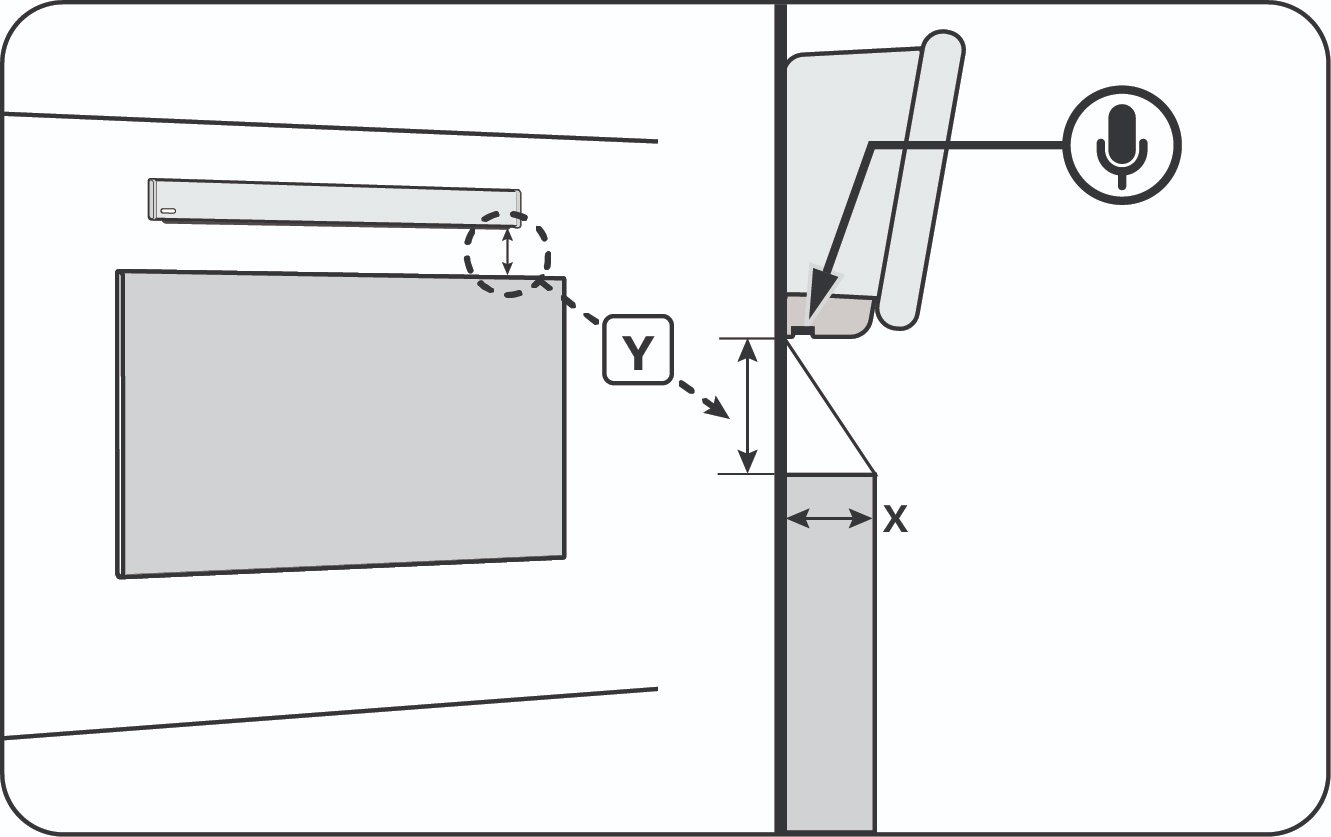
If the unit is mounted above an alcove (or window), there must be at least 15cm of clear wall underneath the sound bar.
- Wall construction. The HDL works best when placed on a hard, flat surface. Avoid glass as it is overly reflective.
- Acoustic panelling. The HDL sound bar must never be mounted directly onto an acoustic panel. Audio will be absorbed by the panel and mic pickup will be poor. Either remove a section of acoustic panel to seat the sound bar – with sufficient clear wall underneath, or install a backboard on top of the acoustic panel
Room Acoustics
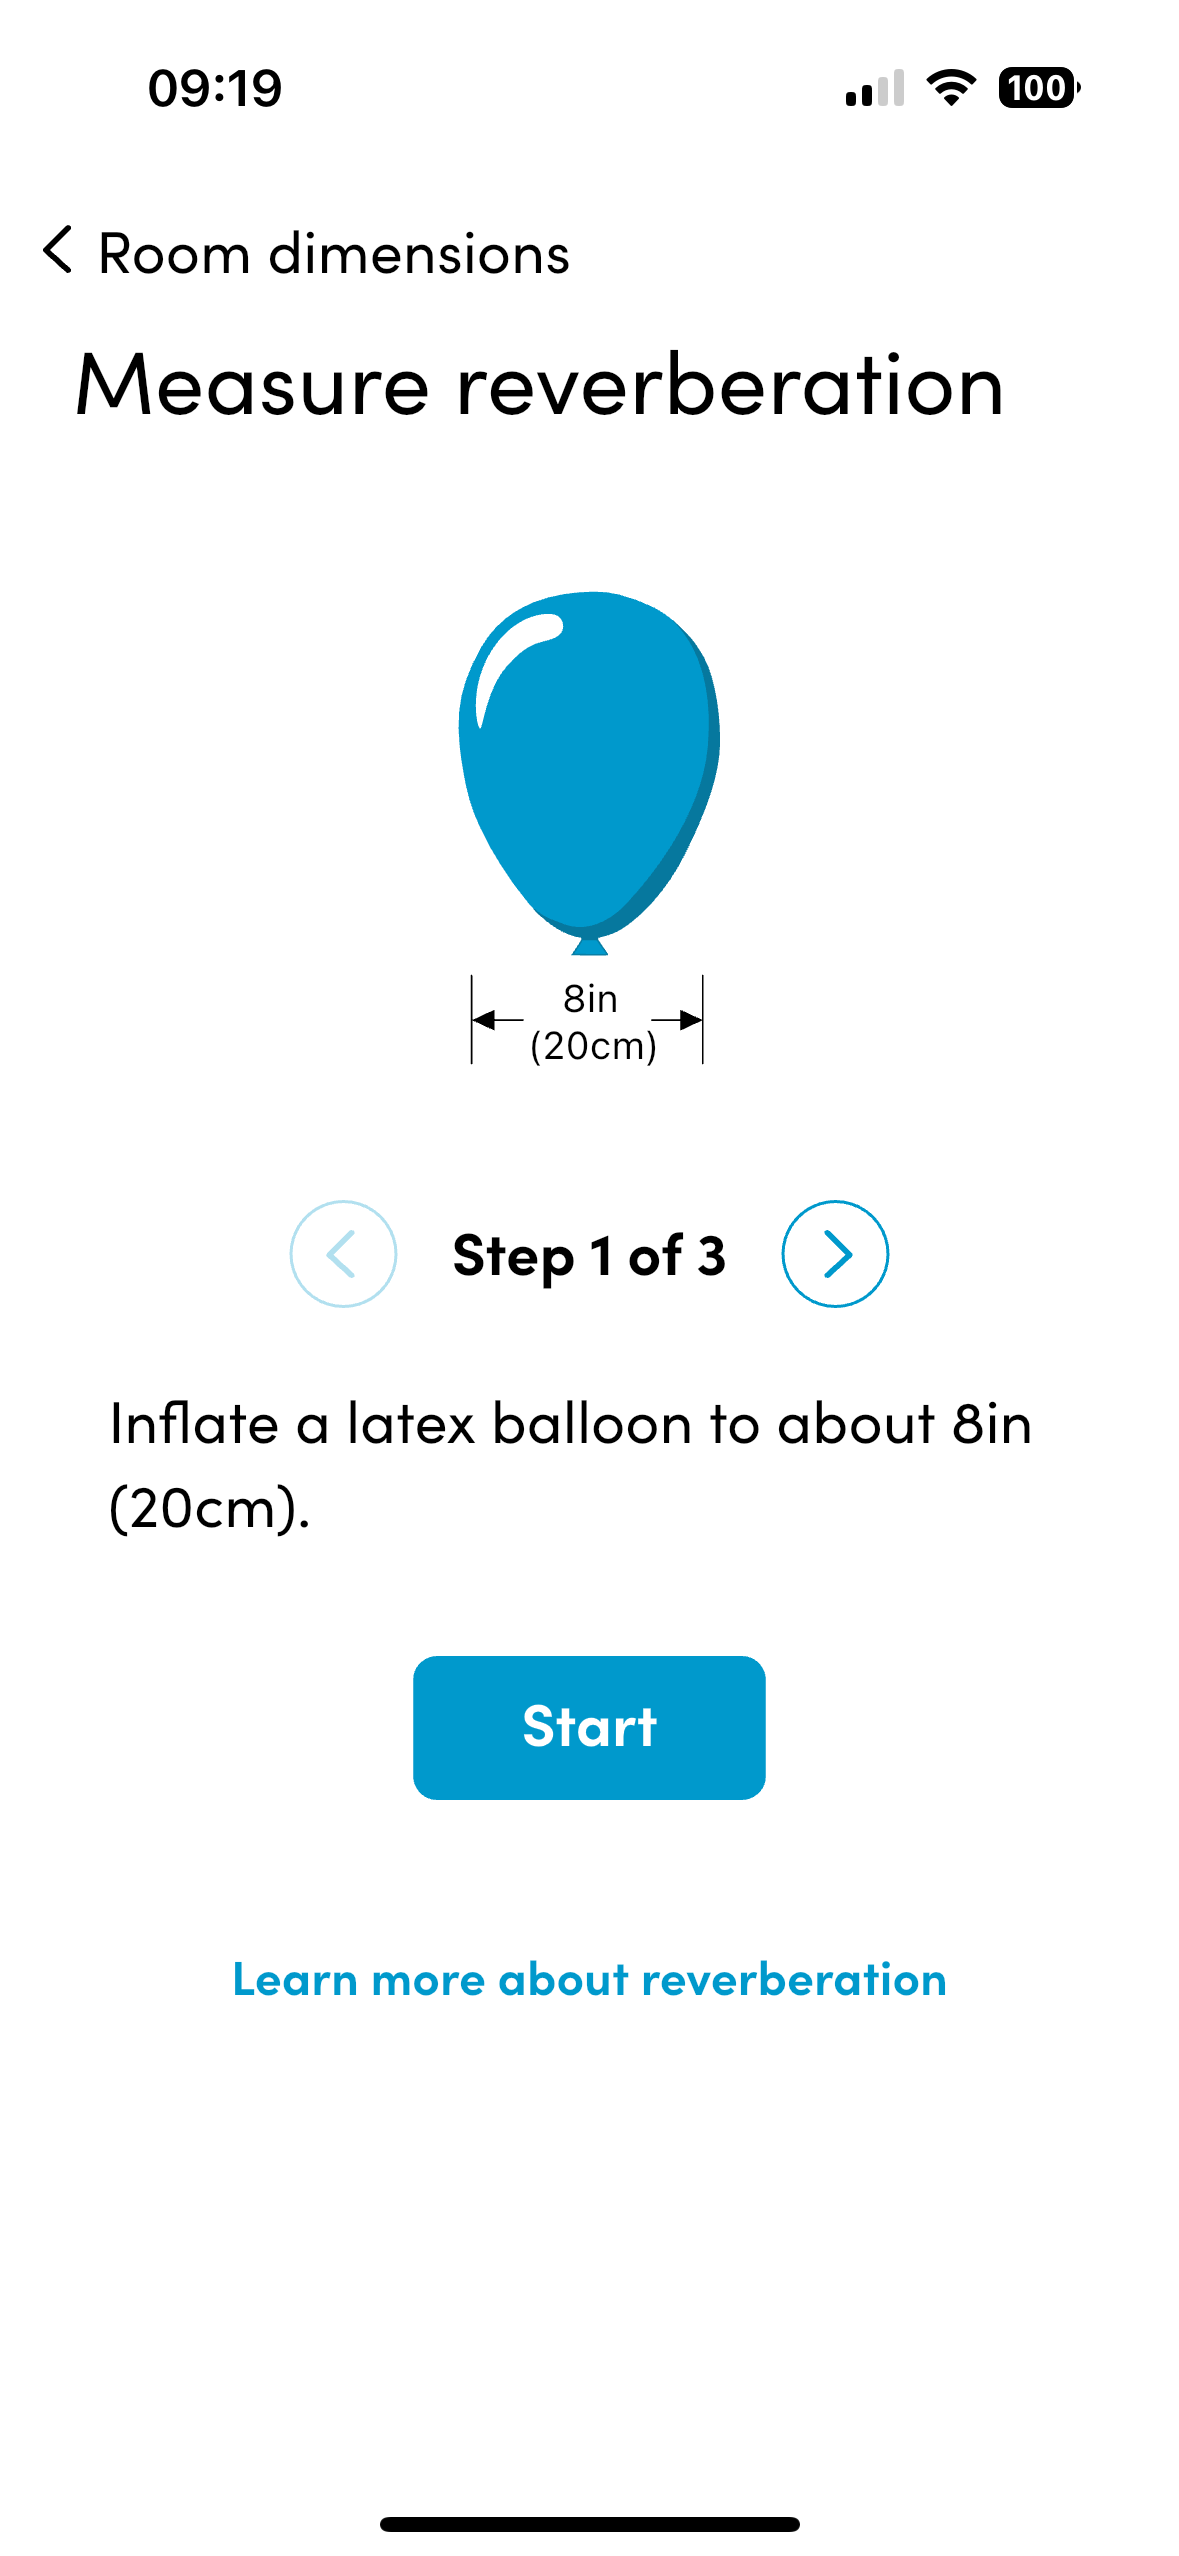
Prior to installation, we recommend that you test acoustic
levels in the room.
Nureva have included
tools for this in their iPhone App (available from App Store).
By testing background noise and reverberation in the room, you can
determine suitability of the HDL for your space.
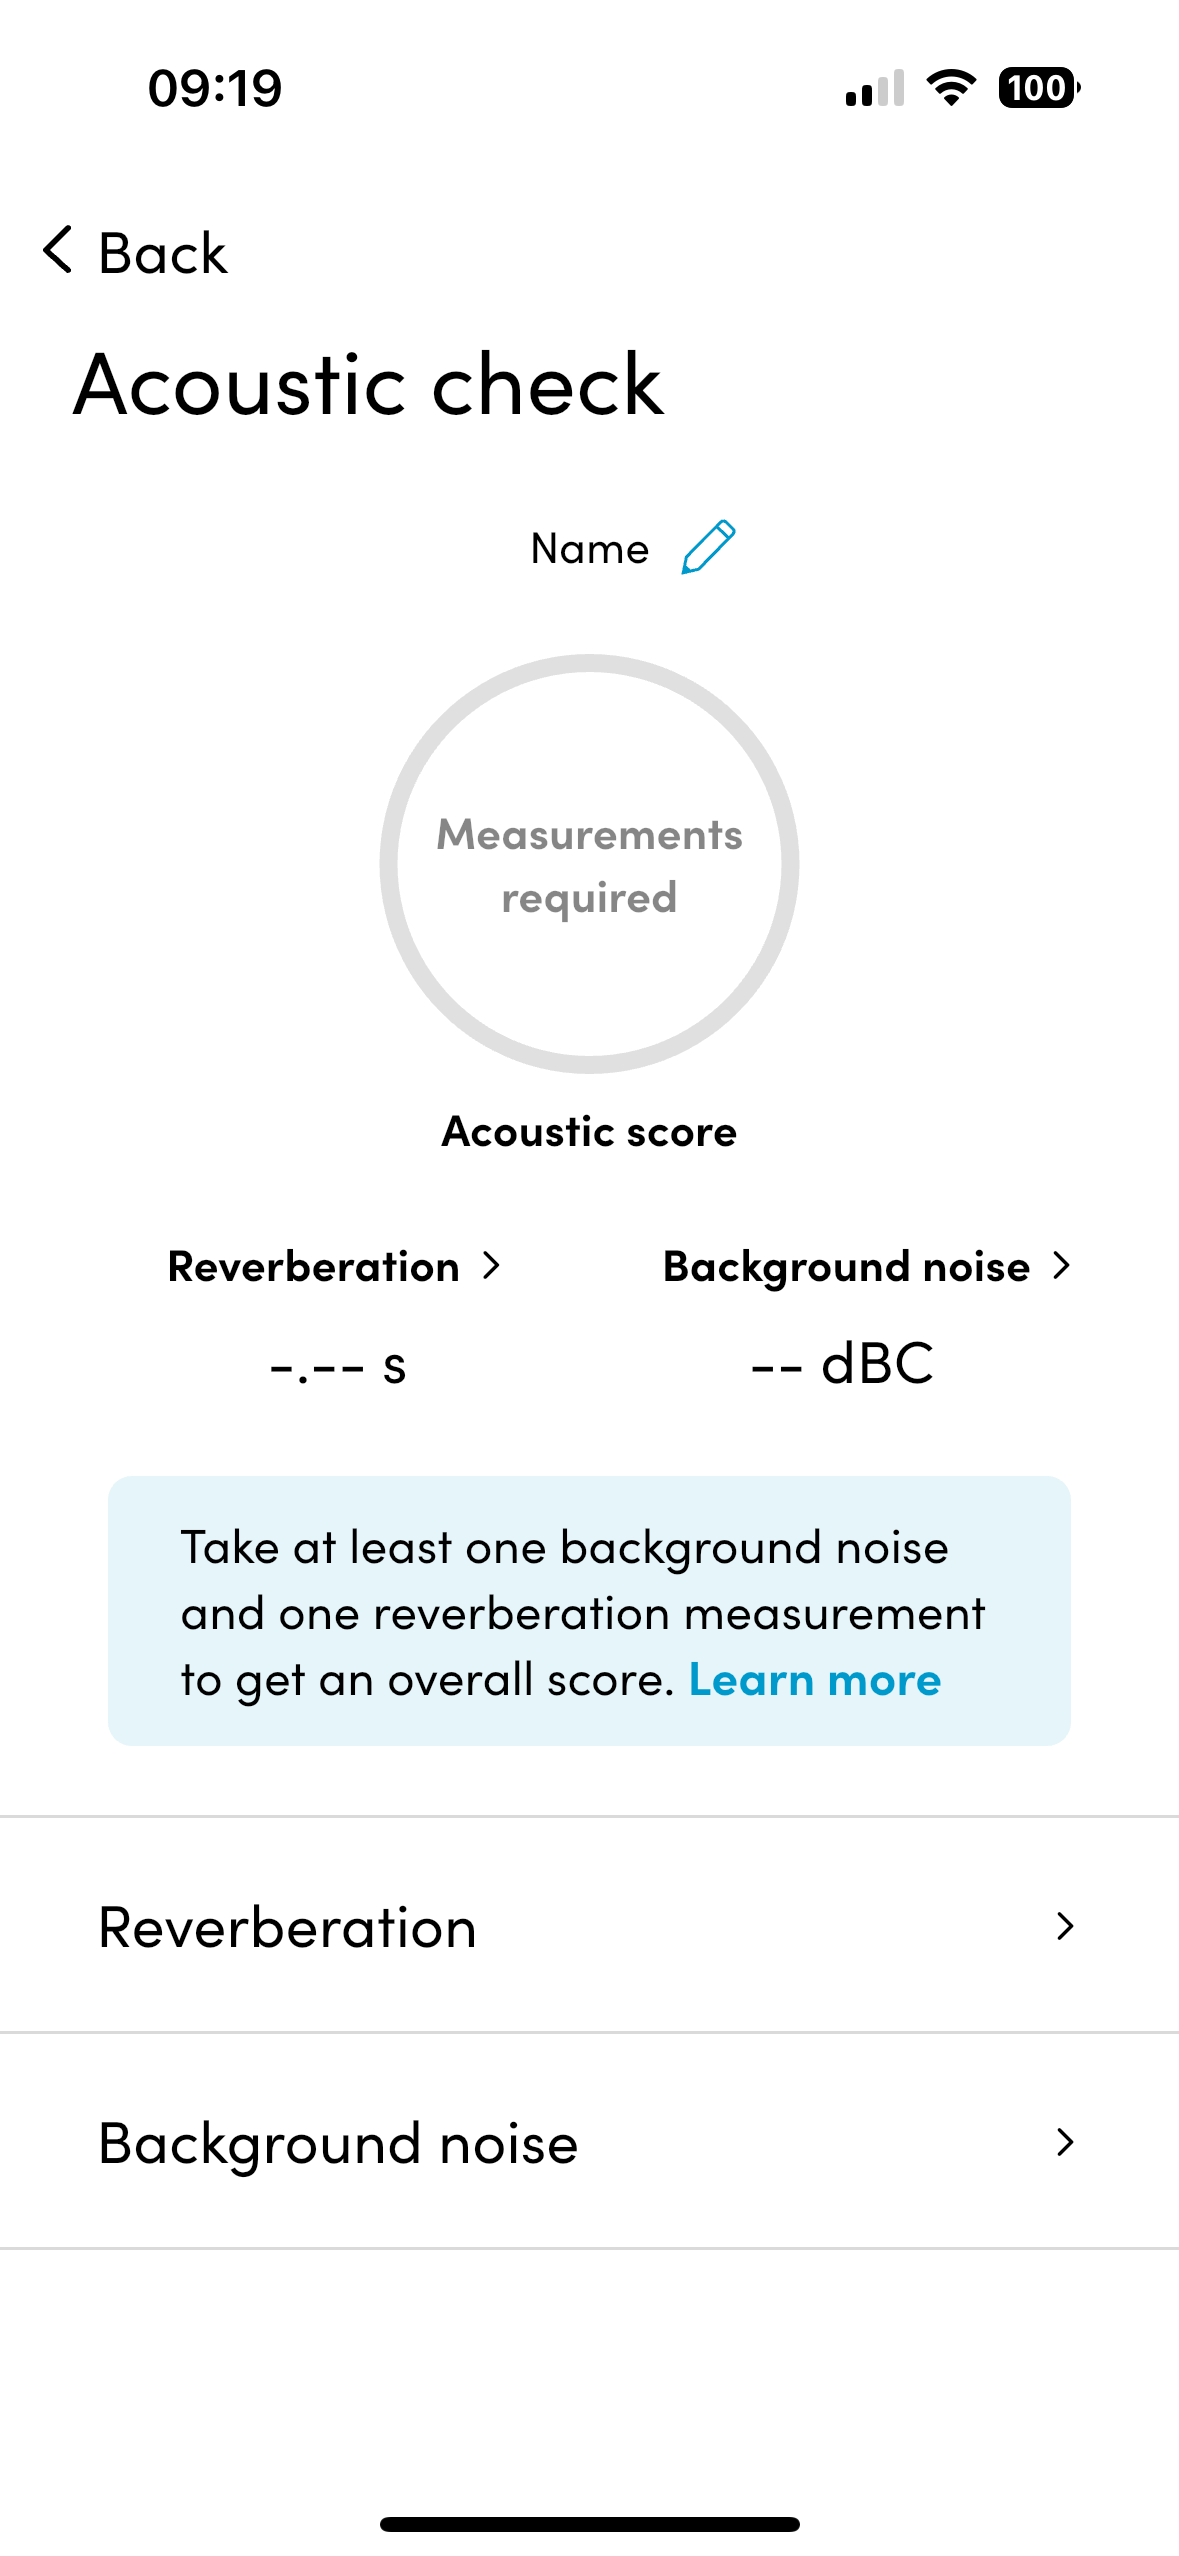
- Background noise.
Normal human speech is approx. 60 – 65dBA. The HDL priorities human voice, partly by distinguishing the different dB levels. Therefore, recommended background noise should be 40-45dBA for optimal performance. - Reverberation (echo).
The HDL includes sophisticated algorithms to eliminate echo. However, if the room is too reverberant, the algorithms will not be able to compensate.
Take a reverberation reading to determine whether echo is too high. If Reverberation Time (RT60) levels are higher than 0.5 seconds, then acoustic treatment in the room should be considered before installing a HDL system
 |  |  |
Cable Runs
The Connect Module 2 and sound bar are connected via a Cat6
Power over Ethernet cable, so connection is easy. However, make sure you have the ability to
run the cable to the sound bar installation spot.
The CM2 can be mounted anywhere in the room, typically
behind the screen or in a rack, allowing for simple cabling to the rest of the
AV equipment.
We strongly recommend using the cables included in the box and connecting the CM2 directly to the in room computer and not using a USB hub as this can introduce latency.
Overheating
The Connect Module 2 requires good ventilation to prevent
overheating. If it is mounted behind the
screen, ensure it is at the edge to provide air flow. Do not mount it so it is receiving heat
output from other devices.
If there are issues with any of
the items on this list, please contact Ascentae support and we will endeavour
to find a solution that works for you and your customer. By doing this prior to installation we can
ensure that both you and your customer get the best possible solution and
minimal downtime and inconvenience.
If in doubt, Ask Ascentae
We are here to help. If you have any questions or concerns about a
solution, please contact the support team
- support@ascentae.com.